I’ve wanted to change the cabin lighting in Sea Puppy since I first saw it.. The factory fixtures are a square ugly design and they also are old and yellowed.. even the lens on them is yellowed. Despite how bright the bulbs are it is not very bright in the cabin using them.. All in all they needed to go. 🙂
Being the geek that I am. I wanted to replace them with LED lights. However most LED fixtures are still fairly expensive and I didn’t want to spend a lot of money. Last week on one of the mailing lists I subscribe to someone mentioned cheap LED fixtures at Superlumination.com
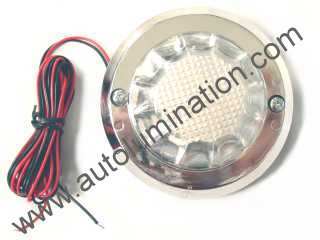
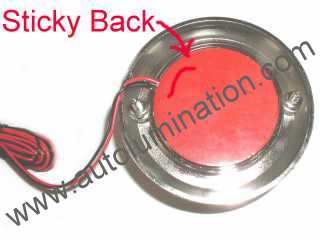
They were right.. I purchased a bunch of 24 LED lights for 9.99 each. Plastic chrome with self adhesive backing and 30″ wire leads, wide angle 100 degree oval leds. They measure 3-1/2″ diameter x 1-1/4″ thick and operate at 10-14.5 volts drawing only 120 milliamps. They are rated to produce 480,000 mcd light output..
Here is a picture of what they look like.
Here is what the old fixtures looked like. This one was over the sink in the galley area.
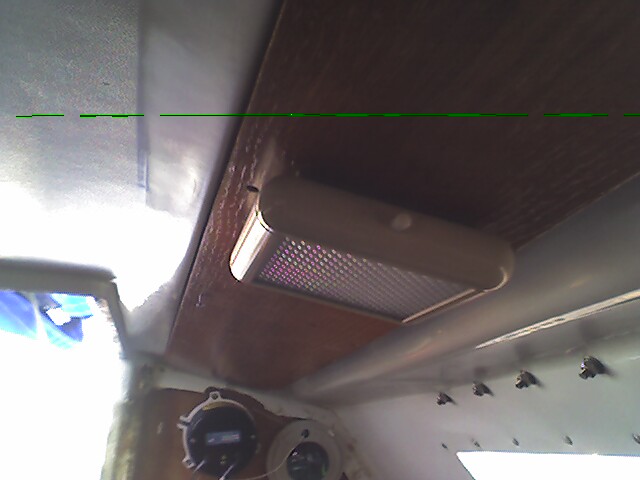 You can see that it has a switch on the side of the fixture to turn it on and off. The LED’s do not have an integral switch.. I had to purchase some switchs at a online electronics supply house for a about 1.75 apiece to turn them on and off. You will see them in a bit. 🙂
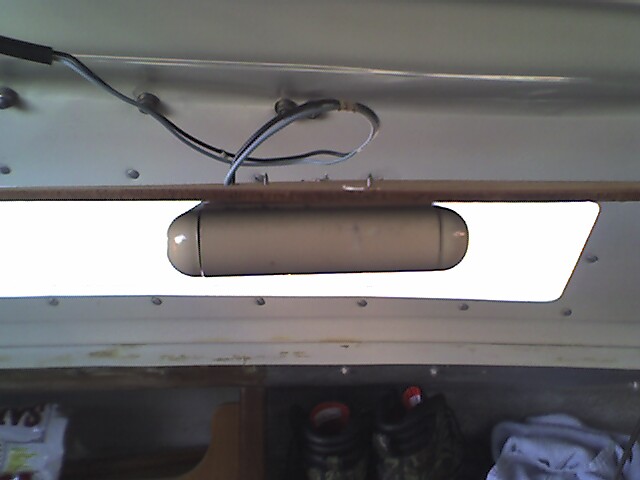
Here I have removed the ceiling panel and you can see the light fixture attached to the panel with the power wire going through.
After unscrewing fixture I cut the power wires.. Make sure the circuit is turned off before doing this.
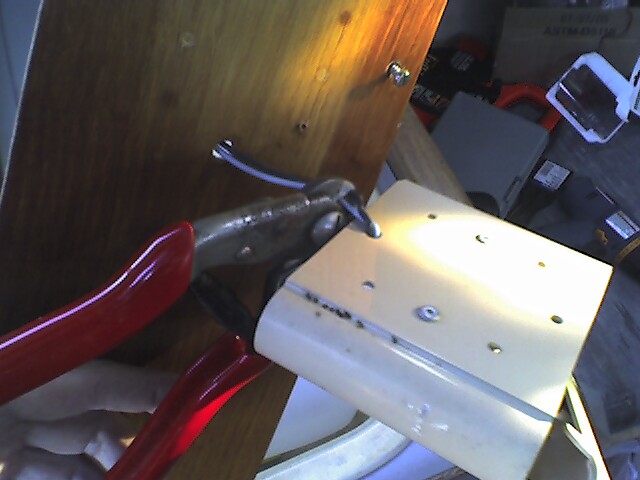
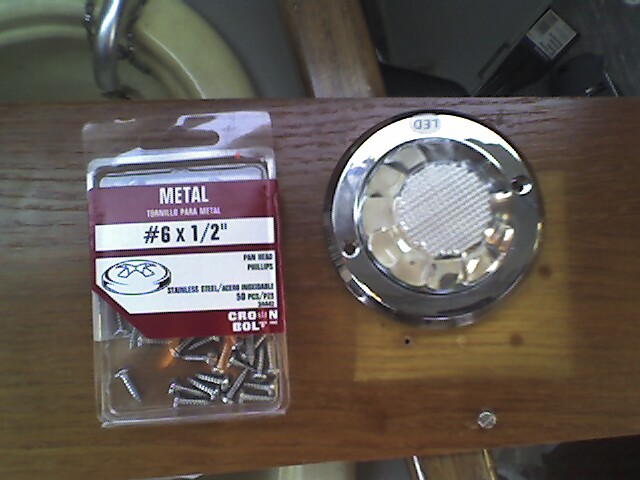
Here is the new fixture laying on the ceiling panel and the stainless screws I bought at Home Depot to attach it. #6 flat head screws fit the holes in the fixture perfectly.
The fixture is now screwed down over the location the old fixture was attached to.. you can see the square lighter area underneath. The mounting holes from the old fixture were spaced perfectly so that I did not have to put any more holes in the panel to mount the LED light fixture itself.

Now we come to the only drilling needed. The new fixtures don’t have built in switches so I had to mount an external one.. the switch goes through the ceiling panel and has a screw bezel that attaches it in place. The next couple of pictures show this process.
Drilling the hole

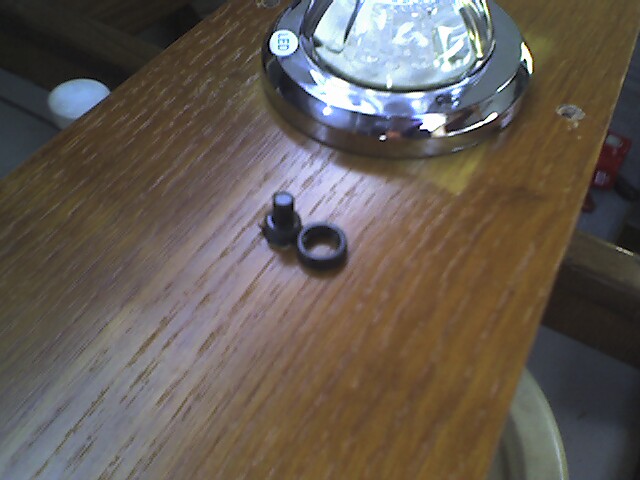
This is what the switch looks like

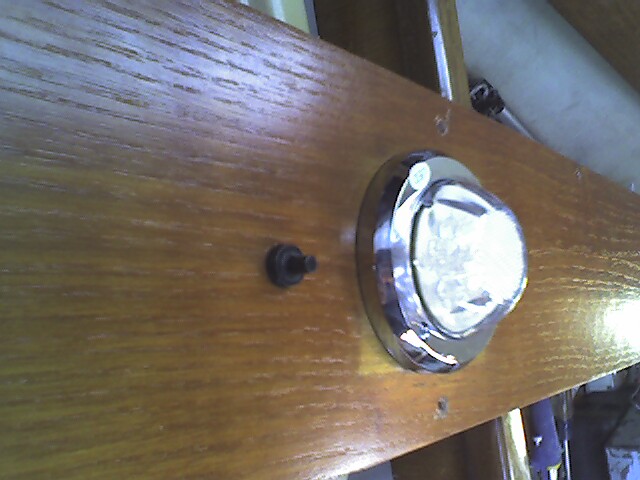
Installing the switch in the hole
It’s now mounted… next up is wiring it up.
Attaching crimp connectors. In this picture the ceiling panel is turned over to show the switch and wiring from the backside.
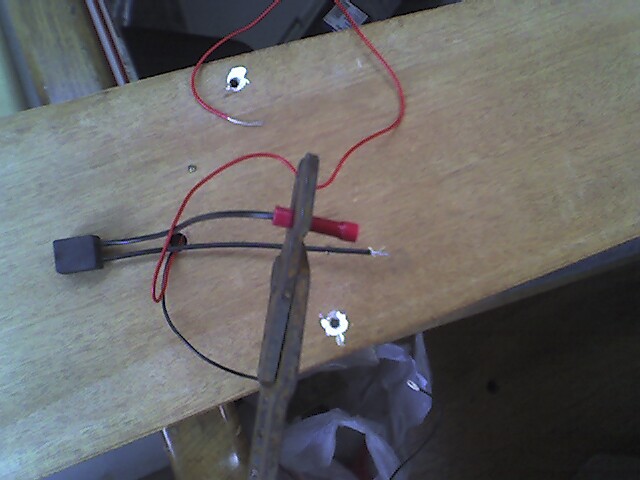
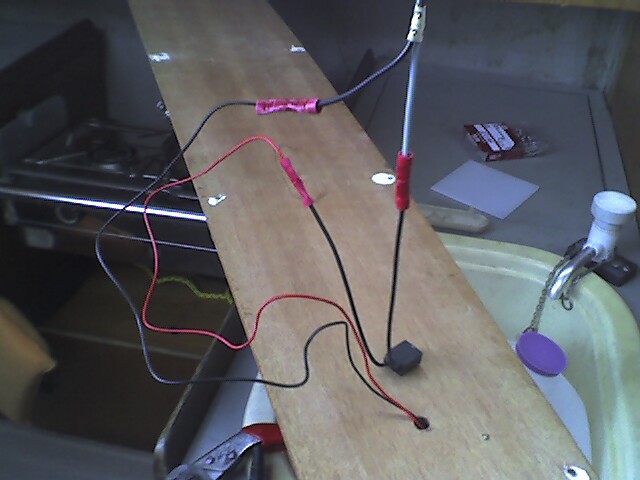
All hooked up… the wiring will only work one way with the LED’s.. I attached the black ground wire from the LED directly to the black ground? wire from the circuit/breaker panel. I then attached the red wire on the LED to one side of the switch.. It doesn’t matter which side. The other side of the switch is attached to the blue wire +? that comes from the circuit/breaker panel.
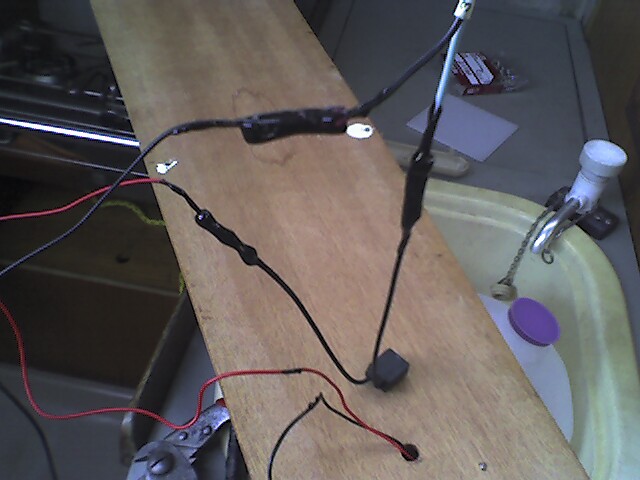
I then coated the connectors and wires where I crimped them with liquid tape. This should help extend the life of the wiring considerably by sealing out all moisture and salt in the air.
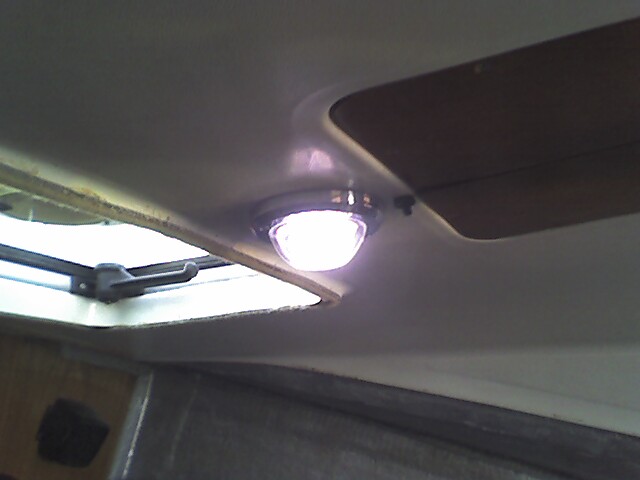
All put back together.. here are pictures of it totaly installed both off and on.
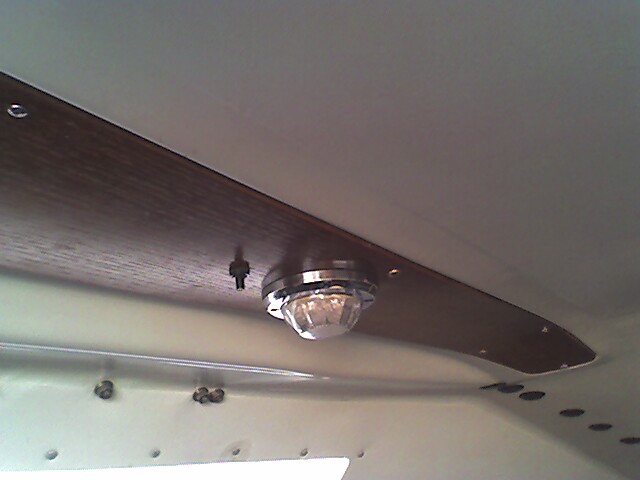
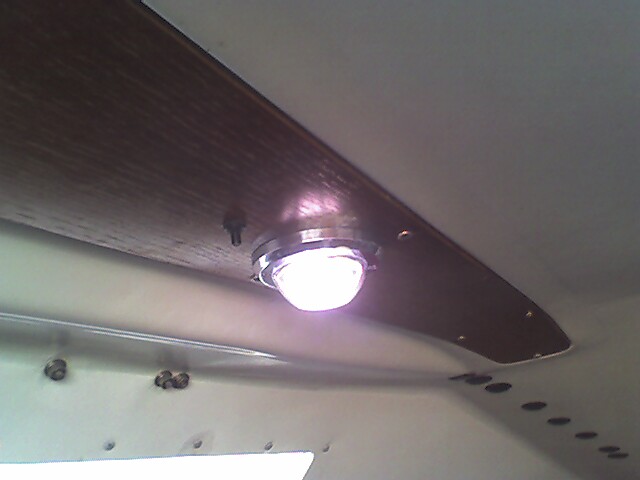
Light installed in front of the compression post.
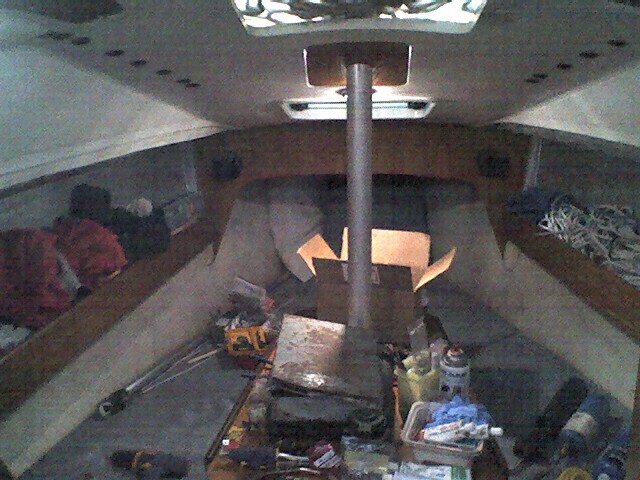
So far I have replaced the three main cabin lights. The one in front of the compression post the one in the galley and the one in the head.. It got dark while I was working and I didn’t have time to work back in the aft berth area to mount lights back there.. so that will be another days project along with the small LED’s I got to mount in the cockpit.
Here are two pictures at dusk showing the difference in lighting with the LED’s off and on.

Since I put them in i have been wishing I had purchased some of the smaller red LED lights and installed them beside the white ones. To be used when out at night and not wanting to ruin your night vision.. It is still an easy addition for later.
Another nice thing is that with all three cabin lights on and one in the aft berth the power draw is only 480 milliamps total.. just under half an amp for all the cabin lights. I would have to check this against the specific bulbs in the 235 fixtures but the average dome light bulb draws 1-2 amps per..
hmm ok i went and pulled one of the bulbs from the fixtures I pulled out… they are 12v 10 watt bulbs… which are supposed to draw 833 milliamps or .833 amps each for a total of 3.3 amps draw if all 4 are on at once. so they draw about 6.8 times more power than the LED’s. If the rating of 120 milliamps is correct for the fixtures I got. 🙂
About a year later I did the below.
I spent the day on Sea Puppy modifying my led light arrangement for the interior lights. I also wired up a fan in the aft cabin.
Here is the new arrangement in the head/nav station. I have two led’s one white and one red on a 3 way rocker switch. On white/off/on red. The red leds are for keeping night vision when sailing at night.
I also put a red led fixture with a on/off rocker in the galley area.
Here is a picture of it on.
In the aft cabin is the white led fixture and the fan that I wired up.
Both of them are controled from these two rocker switches. The top one is on and off for the fan and the bottom one for the led.
I am getting really tired of how rough the interior of the boat is looking. It will soon be time to make a new headliner that will hide the sides of the boat and cover all the bare wiring. I’m thinking that Sea Puppy will look really nice once this is done.
Recent Comments