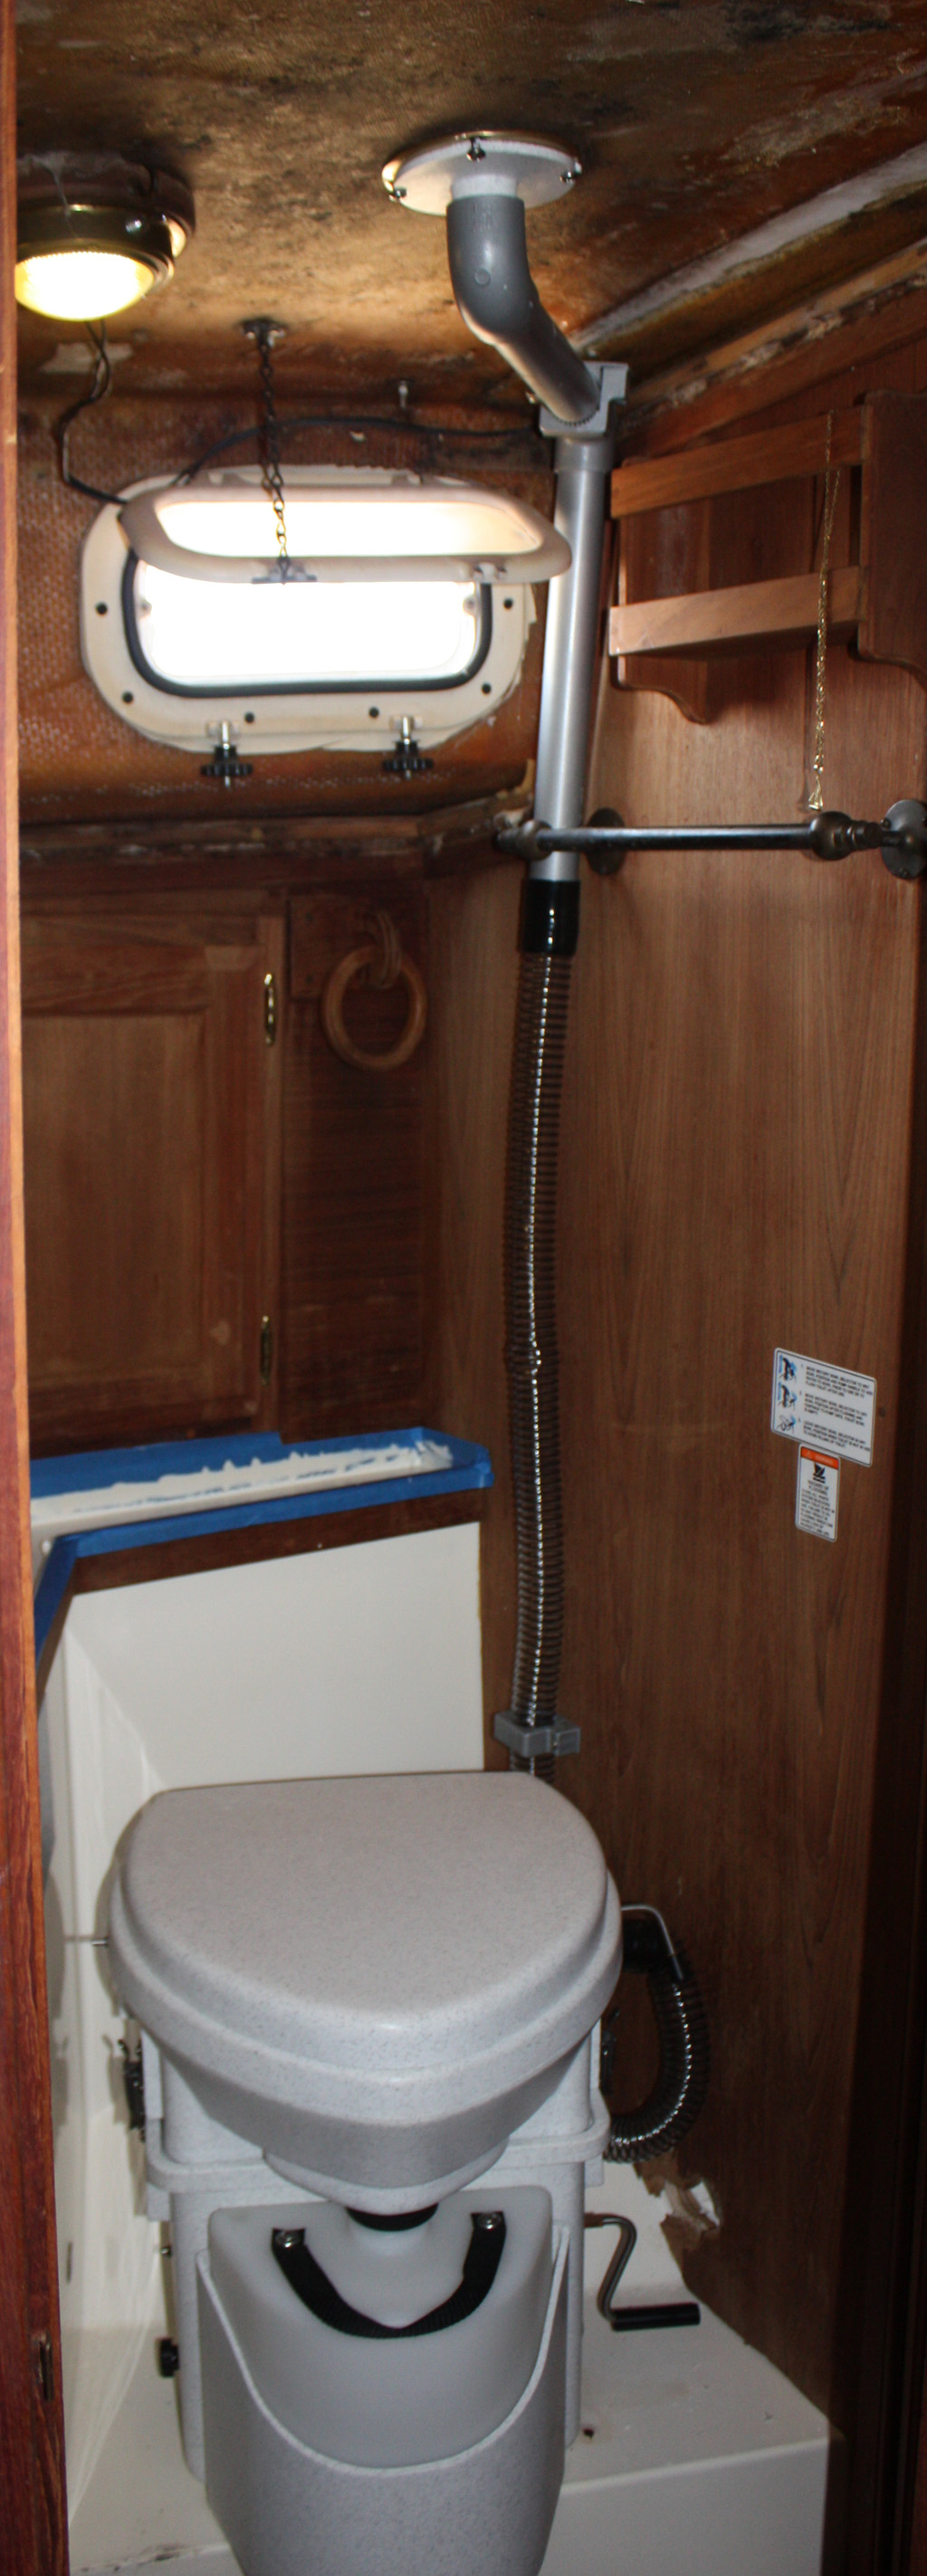
We installed the “Natures Head” composting toilet this past weekend. It fits perfectly side to side (read “it is a tight fit”) to get it in the head compartment you take the top section off the bottom section. This is just a matter of unclipping two clips, one on either side of the unit and then sliding the top section left 3 inches or so as you lift it up to disengage the rear hinge. At that point both pieces will easily fit through either of the head doors.
Here is a few picture of the two stainless angle pieces that hold the unit to the floor. The first shows how we marked where to set the mounts. We put the head in place and them made sure that we had room on either side for the crank to turn on the right without hitting the wall and the latch on the left side of the unit to open as well as being able to slide the top to the left when pulling it off the hinge when removing it. Once it was spaced right we took a pencil and just drew a line around the backside of the angle pieces to mark where they went.
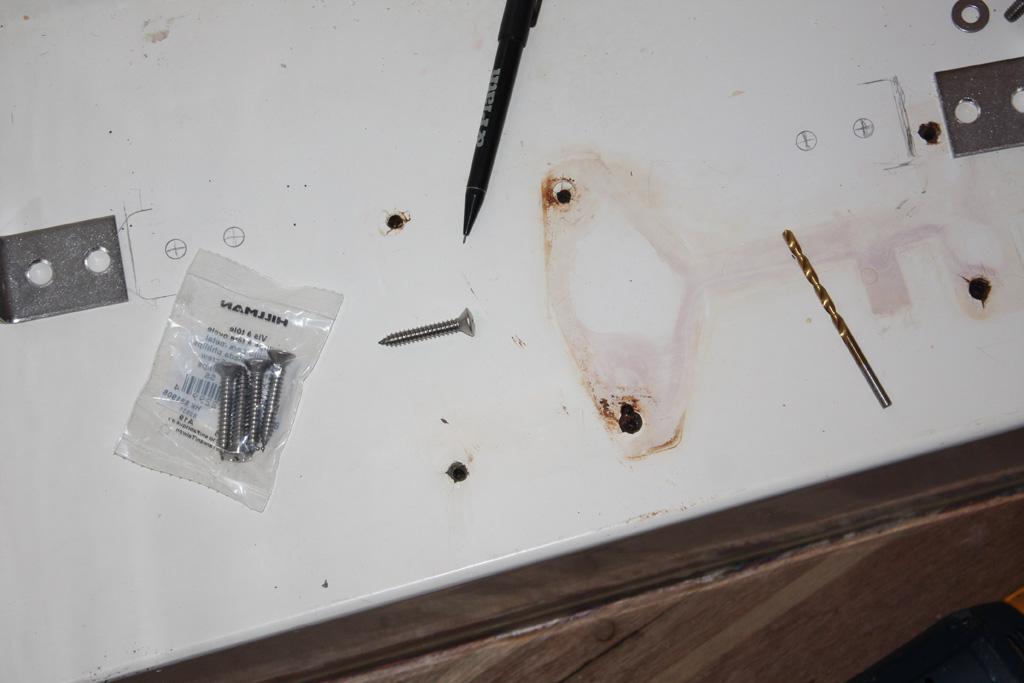
After drilling the holes with a 3/16 inch drill bit we placed the mounts over the holes to double check everything.
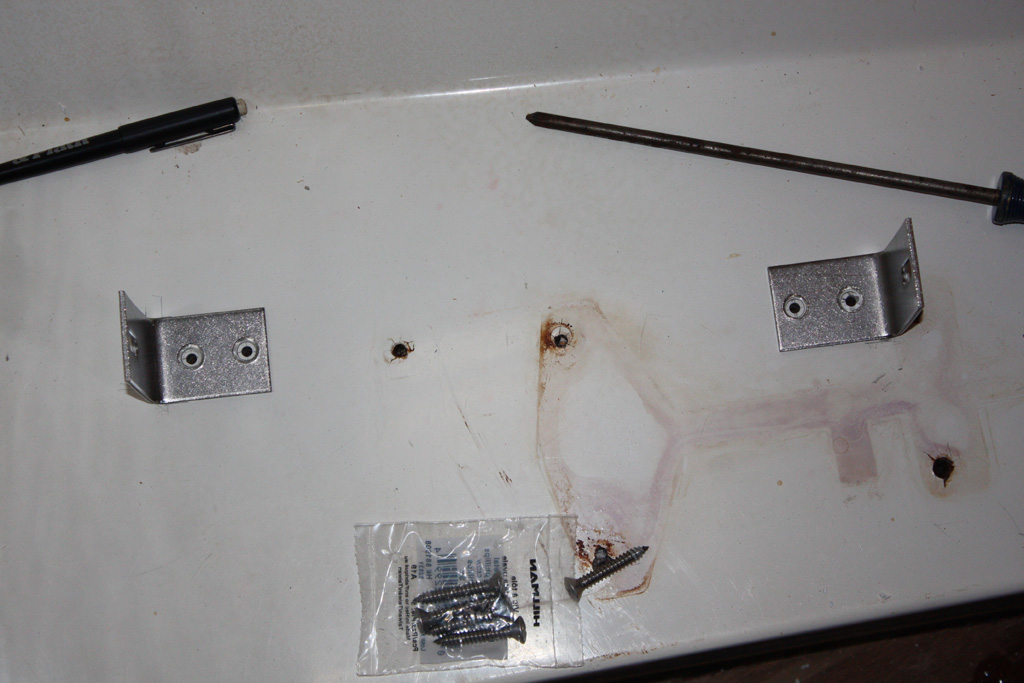
And then used 14×1 1/2″ stainless steal oval head screws to attached the brackets to the floor. I think though that I should have used flat head screws that would countersink a little bit farther. I will probably go back and change them out next week.
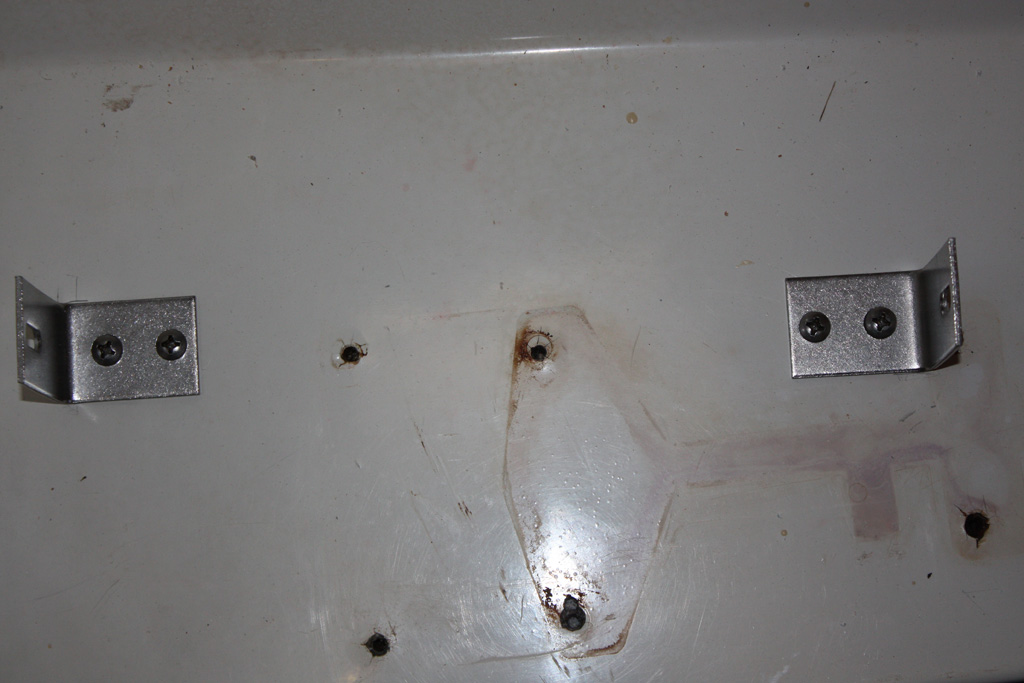
Once the brackets were mounted we set the head back down in place and attached the two thumb screws that hold it in place. It was a perfect fit! hip hip hurray!!!
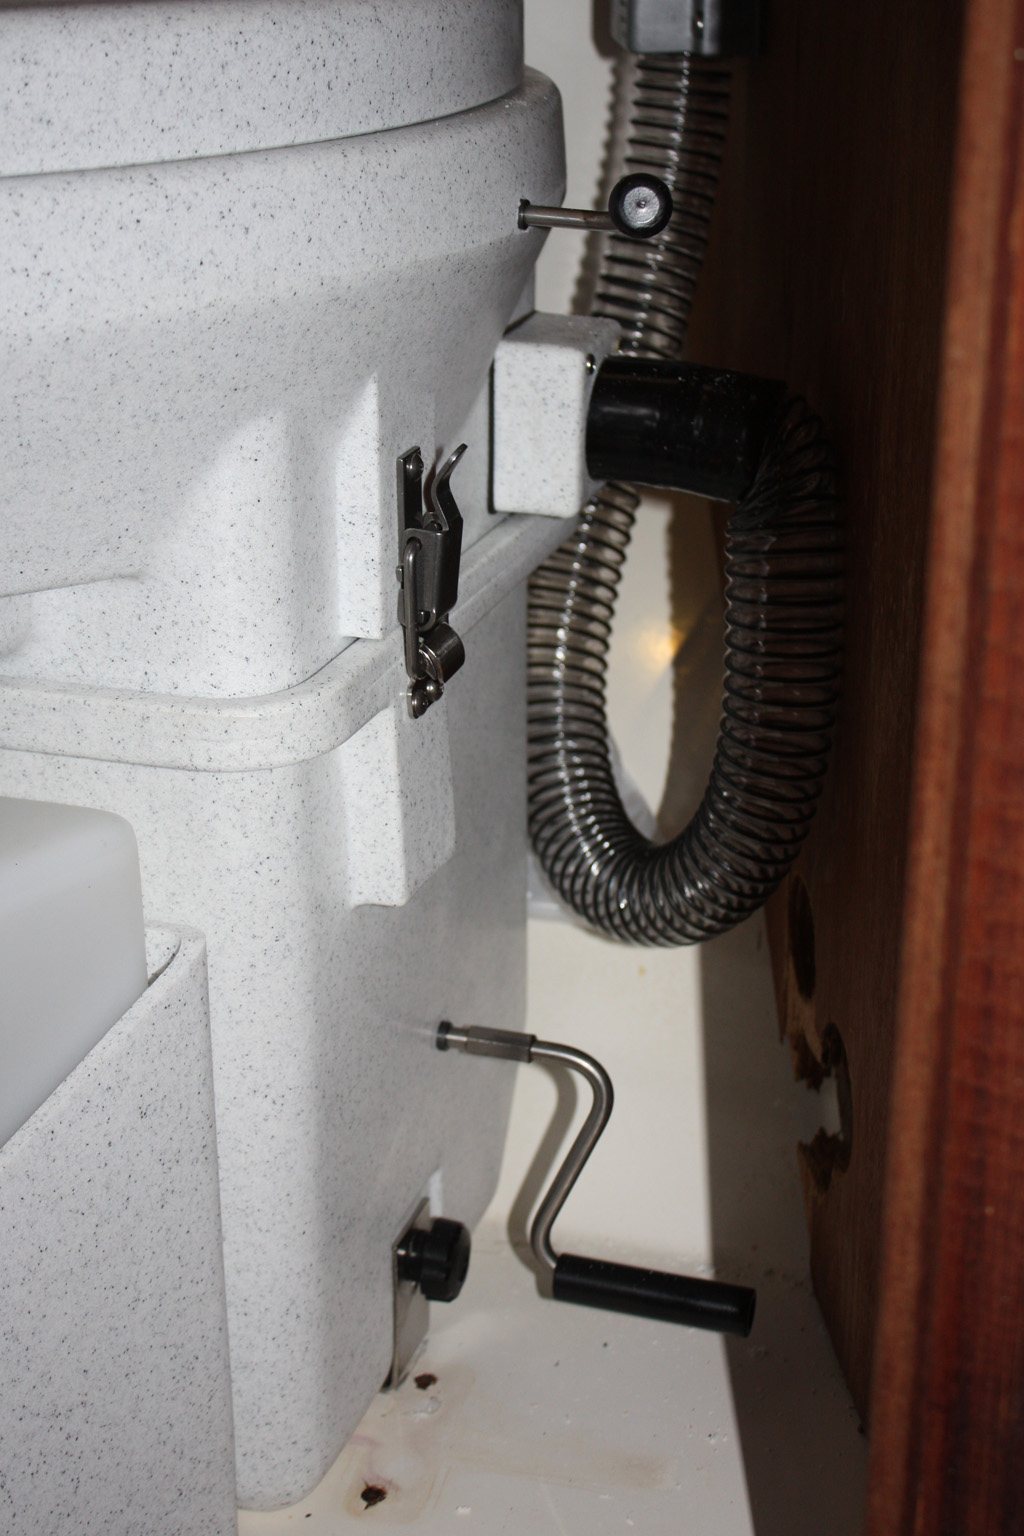
Oh I forgot, we had to cut the nipple off of the fitting on the left hand side of the head to get the head far enough to the left so that the crank handle would turn without hitting the wall. the head comes with a left and right fittings that the vent hose can attach to. Since we are using the hose on the right side of the head we didn’t need the one on the left so we cut the nipple that the hose attaches to off the fitting. the square body of the fitting holds a filter in it though to allow air through but keep flies and such out so we needed to leave it in place.
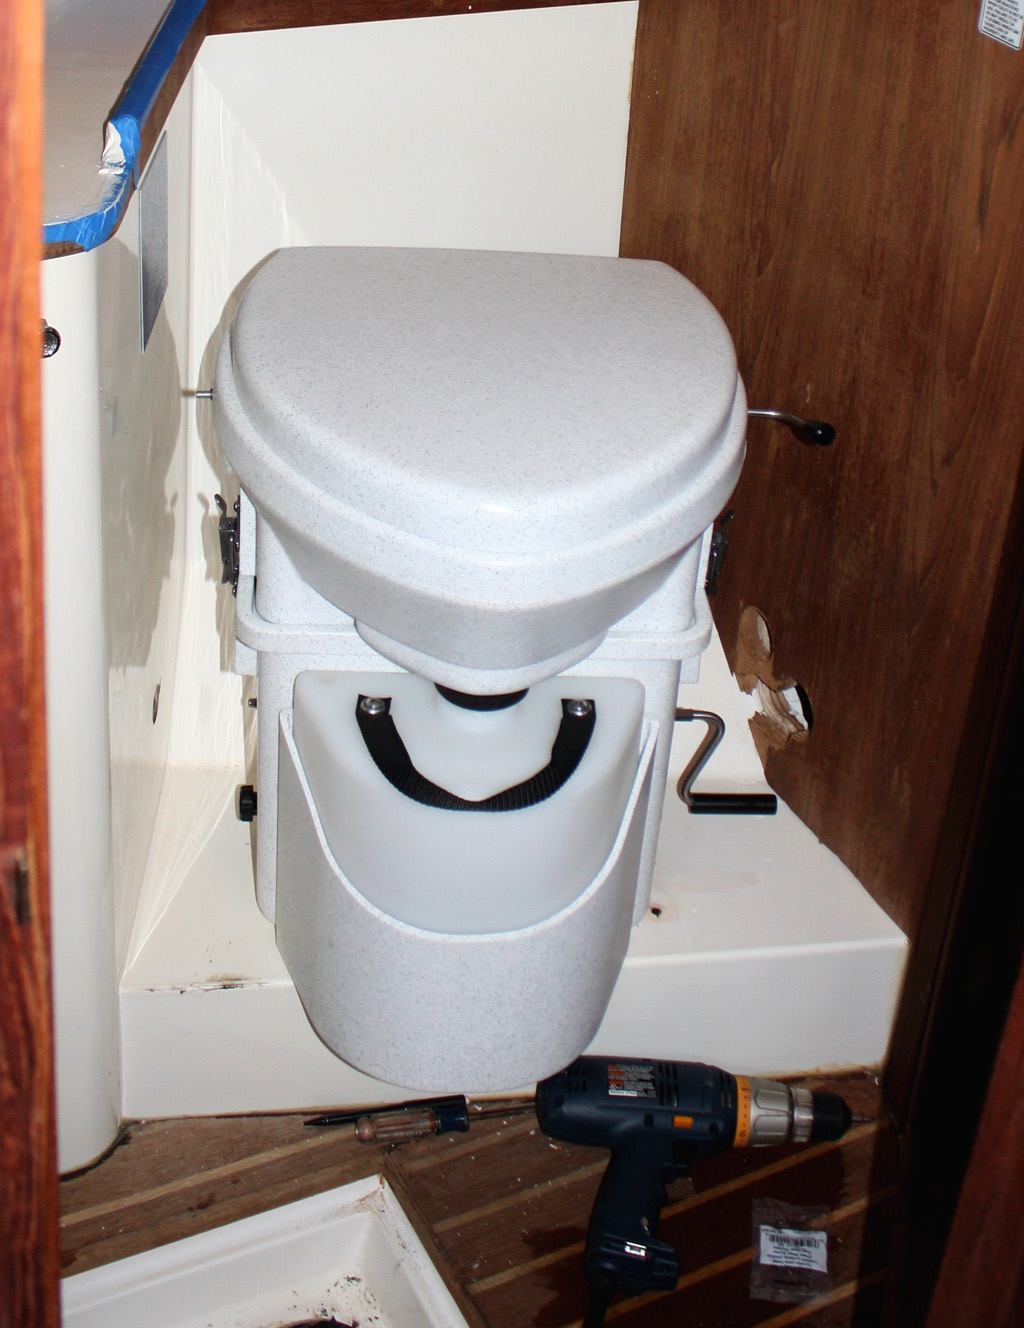
You can see the hose attached to the fitting on the right hand side of the head. I brought the hose down and then back up to create a drip loop so that condensation in the vent hose will not drain back into the head itself. I have heard reports that this can cause problems in the composting process from other owners. So i thought that this would be a simple solution. My understanding is that it is only a problem in cold weather. The fitting on the left side of the head is identical to the one shown here. I cut the nipple off flush with the square box that holds the filter on that side. This side holds a filter and a computer fan. Oh the condensation running back to here will also eventually corrode and kill the computer fan if you are using that for your active ventilation.
The hose that came with the head was to short to go all the way to the
ceiling to attach to the dorade box so I used some PVC pipe to fit it
all together. However I don’t really like the PVC solution and plan to
order a 8 ft length of the hose that will go the whole distance and just
replace what is there now.
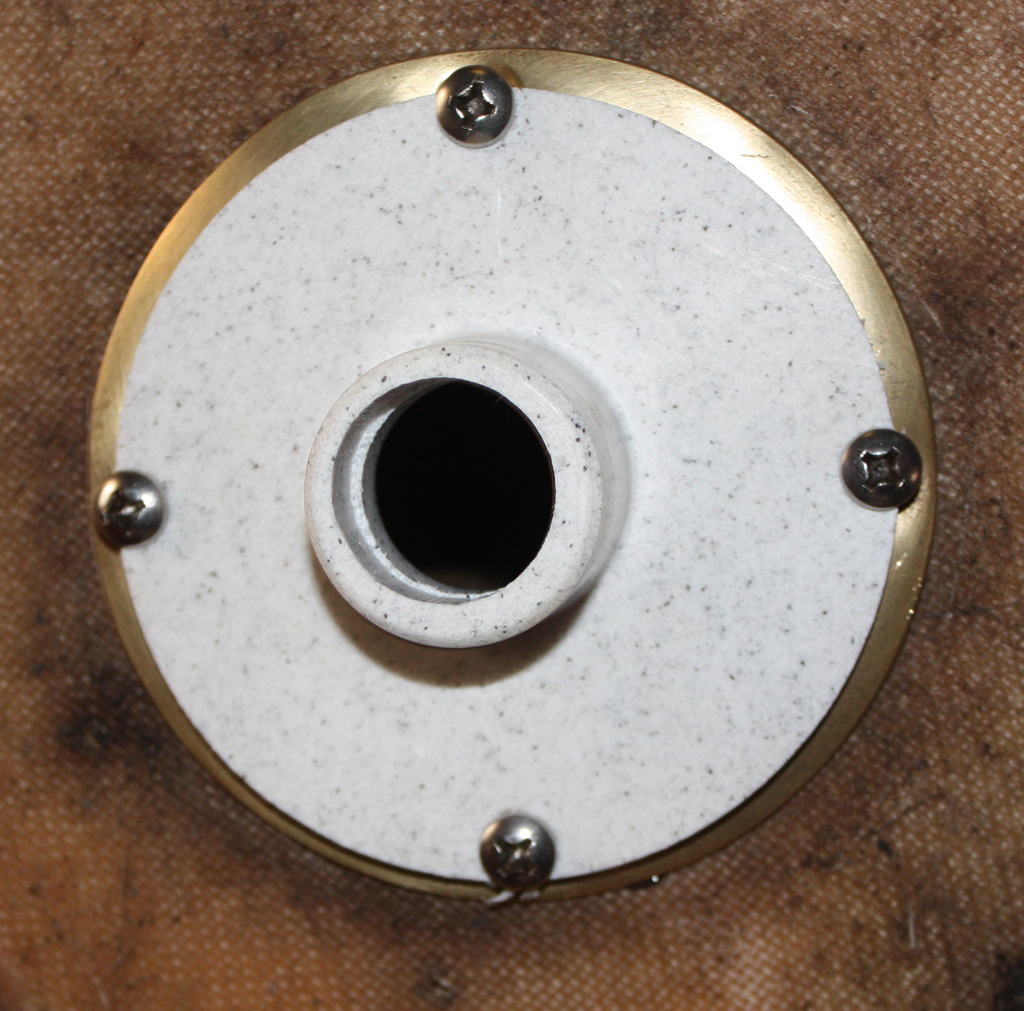
To attach the hose to the ceiling they ship a little plastic fitting that has a nipple on it that the hose or in my case the PVC pipe will fit over. I drilled holes in it matching the screw mount holes in the bronze trim fitting on the underside of the deck that goes up to the dorade box. Then just got longer screws and screwed it all back up to the deck. Though you can’t see the whole thing I took some brasso and cleaned up the bronze fitting. You can see the edge of it showing gleaming. 🙂 brasso and a scotchbright pad does wonders in cleaning up all the bronze fittings and trim on the boat.

You have probably noticed in the pictures that the headliner has been removed in the head and that we have the counter top taped off and it is painted white. We are going to sand the overhead down to get the roughest stuff knocked flat and then will be painting it a gloss white. At a later date if condensation becomes an issue we will put a headliner back in but we figure that with the shower in there it is going to have lots of moisture going on and that it will be easier to clean and keep up with. The old headliner had a lot of mildew/mold on it when we pulled it down. You can see in the above picture the discoloration from mildew/mold even after scrubbing with oxyclean and vinegar water solution. I am going to wipe it down one more time with clorox solution to see if that will go away before we paint it.
I will be adding some pictures to my original post on about the countertops for the rest of it.
After we have the head totally finished we will post some more pictures and after we have had a chance to use the head I will keep this updated on how well it works in actual usage.
Leave a Reply